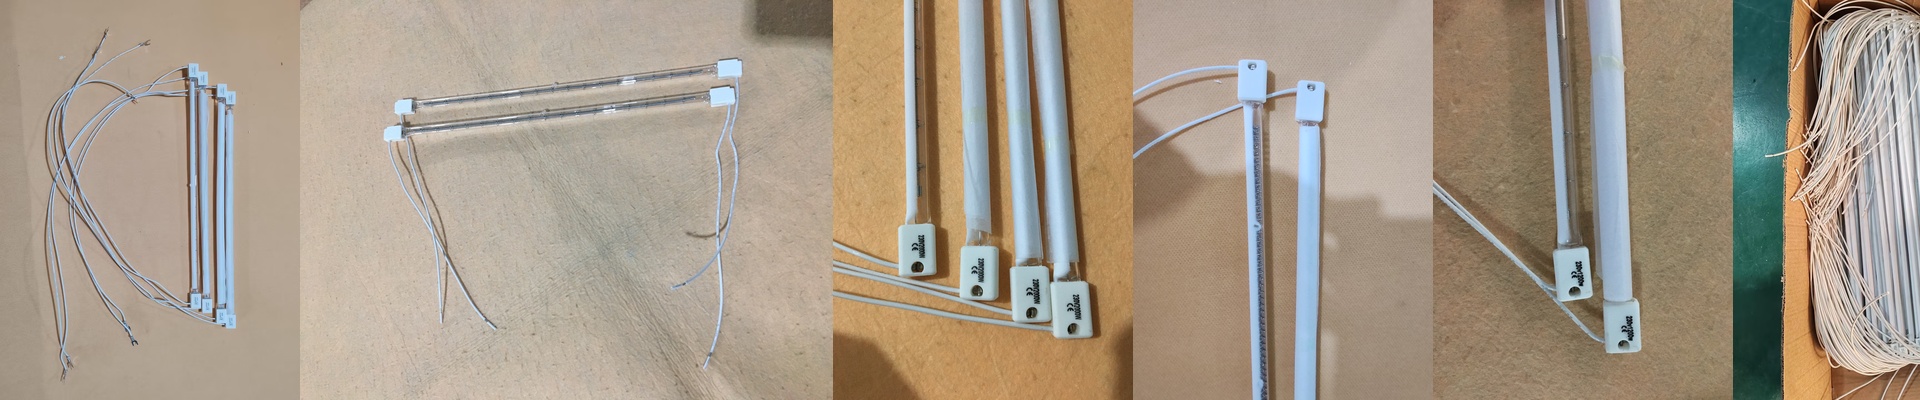
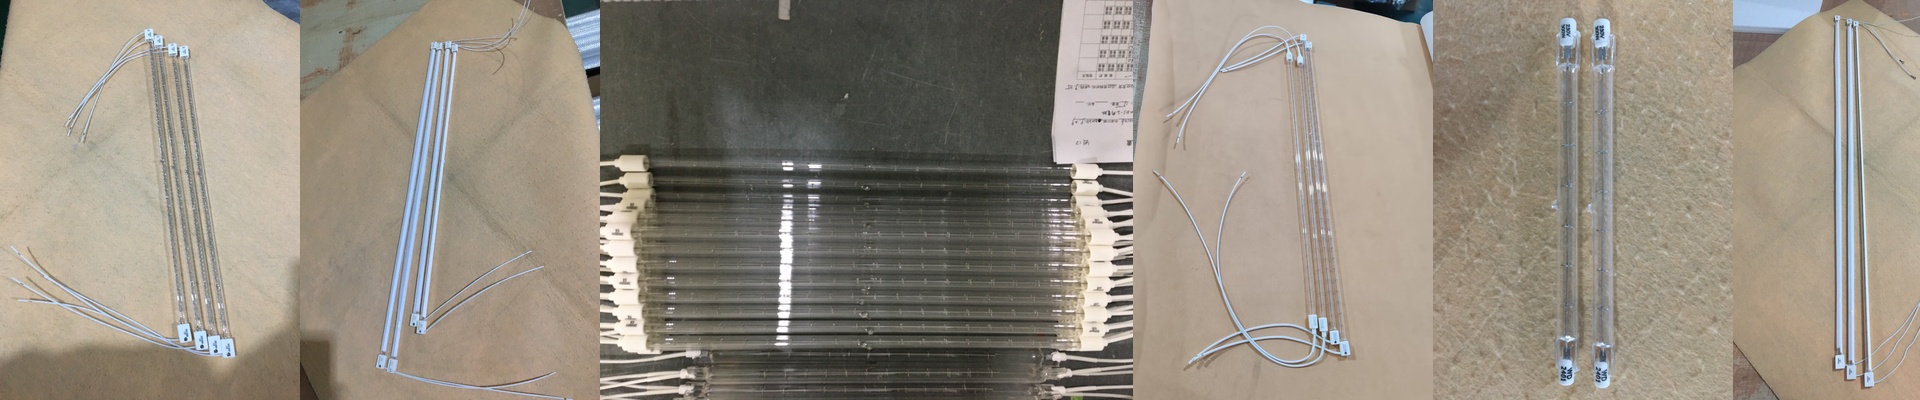
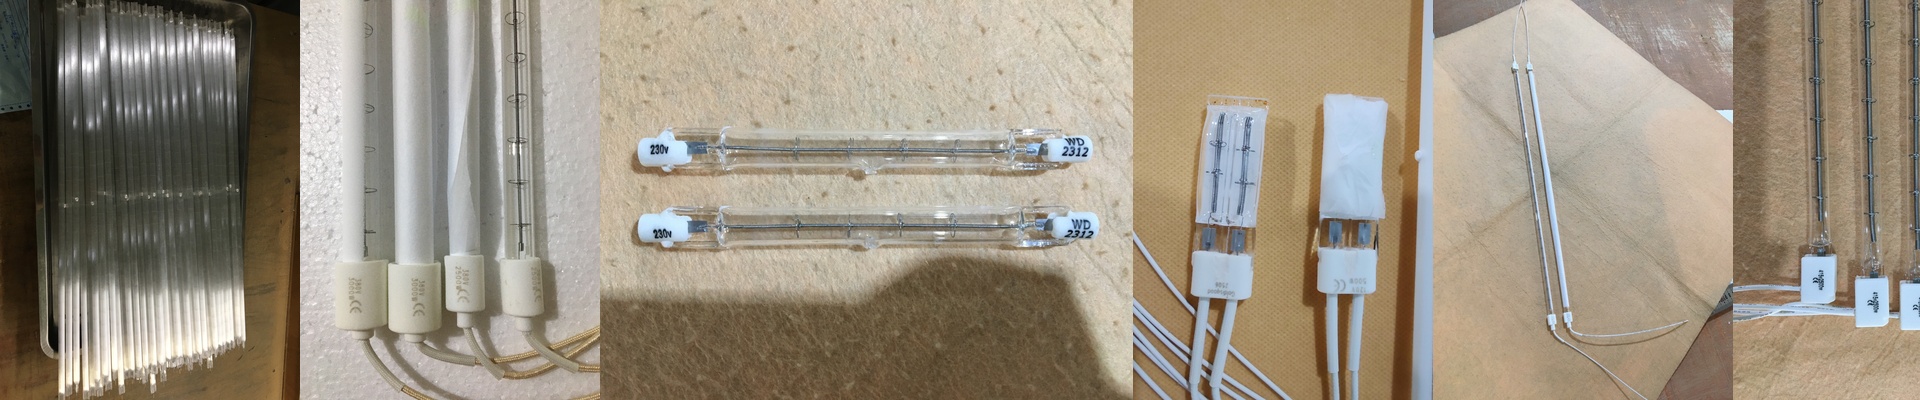
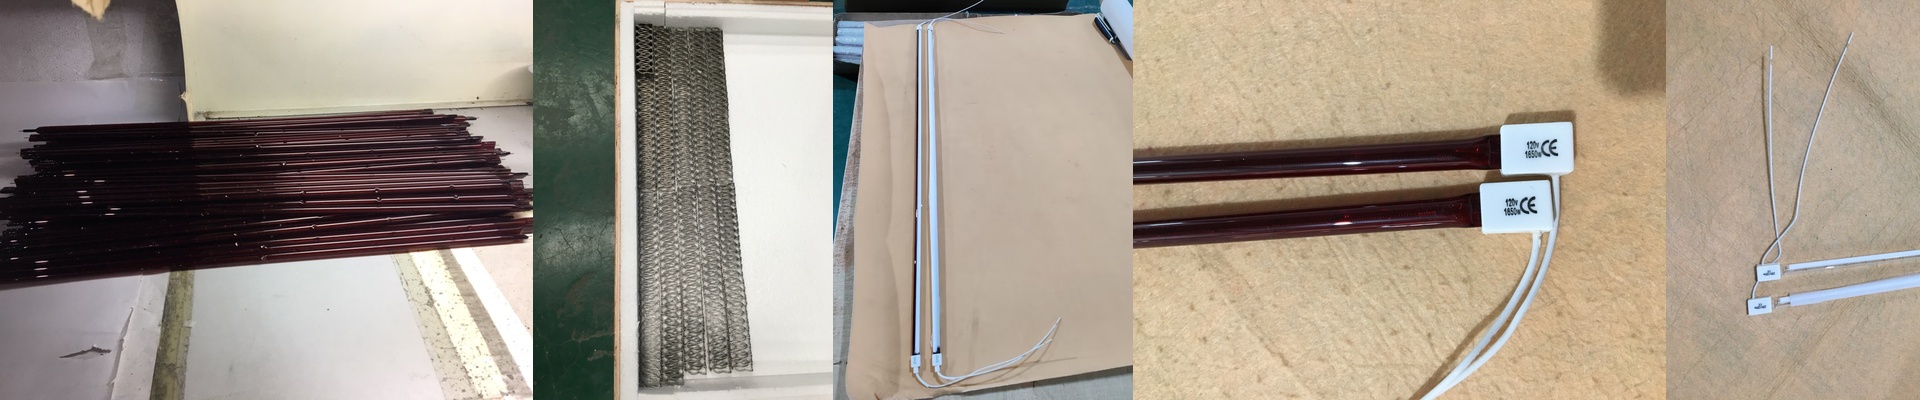
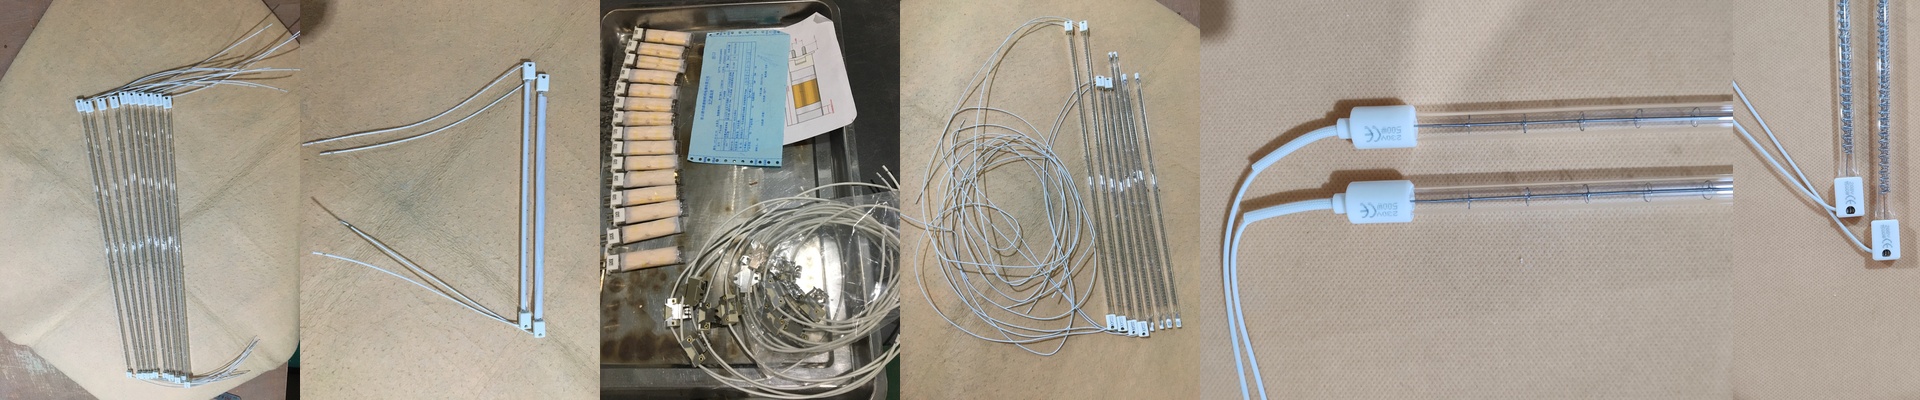
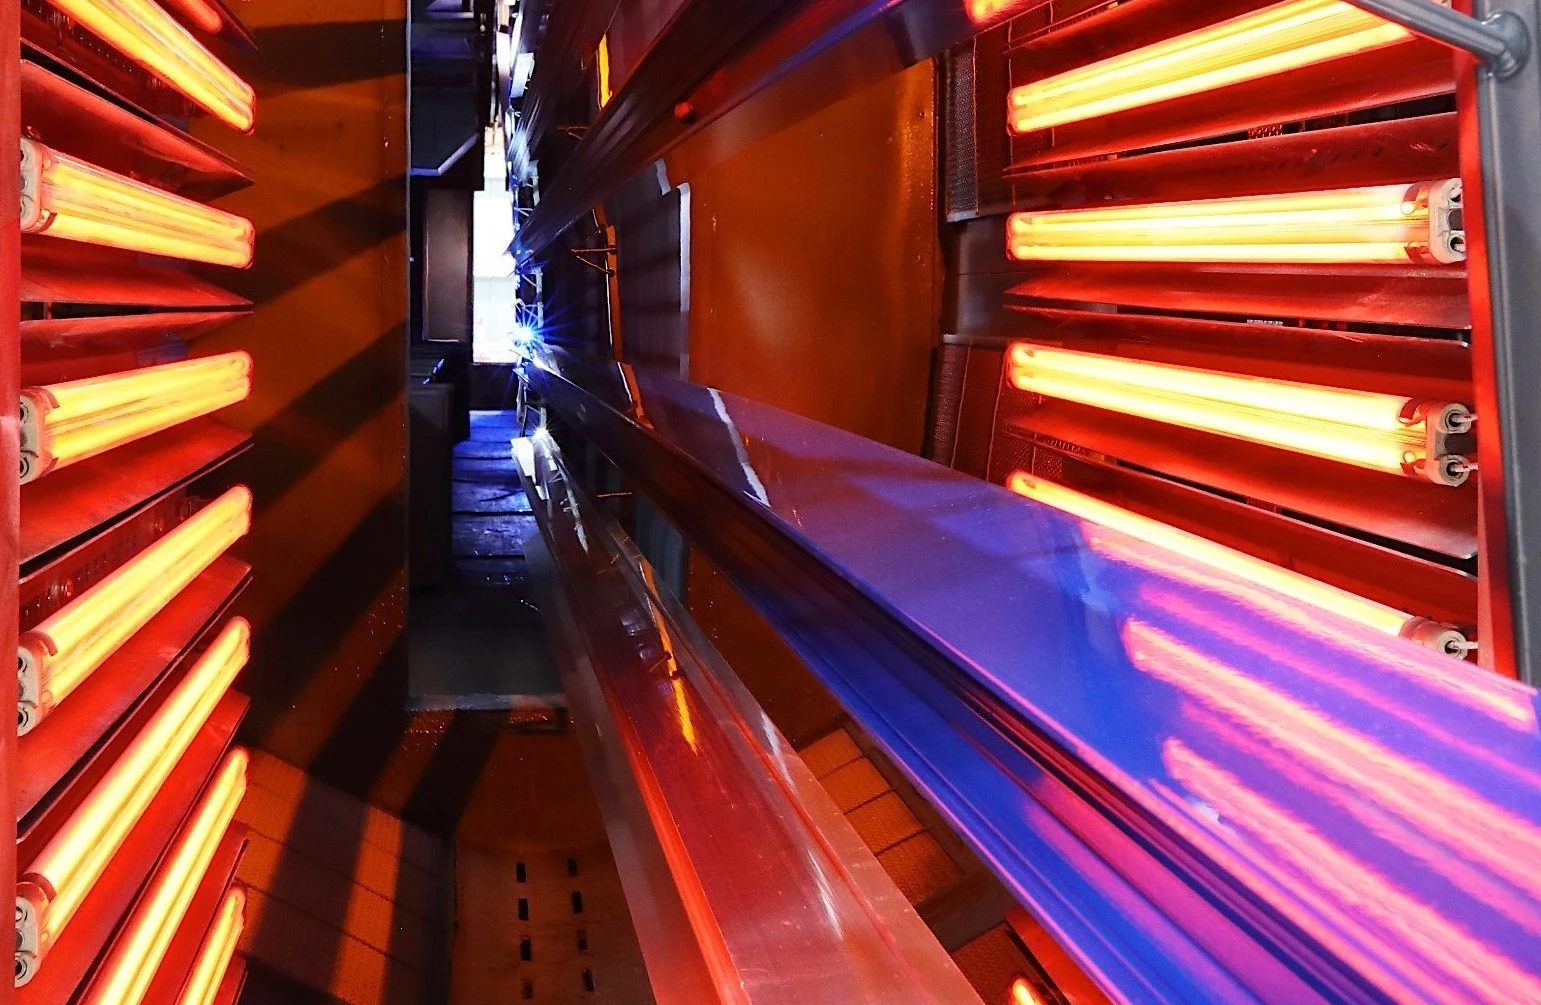
Look, when you’re running a high-volume appliance plant, swapping out your OEM infrared heaters for domestic ones usually isn’t about saving a few bucks. It’s about peace of mind. You don’t want to wake up to fried control boards or find out your chassis has cold spots because the new lamps just aren’t hitting the mark. Getting the heat right When we’re looking at a powder coating line, we obsess over the heat density. If you’ve been using a specific short-wave quartz tube, your replacement needs to hit the same voltage and wattage. Period. If it’s off, you’re in trouble. You’ll either end up with powder that peels off because it didn’t cure, or you’ll actually overheat the metal. It mostly comes down to the filament geometry—basically, how that tungsten is wound. That’s what decides exactly how the heat lands on your part. The nitty-gritty of the hardware Most of these lines use quartz glass with special coatings to get the wavelength just right. We stick with high-purity quartz because it can take the hit of rapid heating and cooling without cracking. But here is where the “cheap” options usually fall apart: the connectors. If you use a standard R7s or SK15 plug that can’t handle the actual current, you’re going to end up with melted sockets. It’s a mess. We make sure every contact point is tightened exactly to spec so you don’t have to deal with arcing. Dealing with the quirks Domestic heaters can definitely match OEM output, but the tolerances are a bit looser. An OEM brand might stay within a tight 5% window on wattage, while domestic batches can swing a bit more. It’s not a dealbreaker, but you’ll probably need to tweak your PID controllers to account for those little shifts in heat. The goal is a simple drop-in. You swap the tubes, wire them up, and run a test panel. If the cure time stays under 10 minutes and the finish looks smooth and uniform across the board, you’ve nailed it.